
A Practical Brief For A Busy Sandton Schedule
The client was a private business owner based in Kramerville, Sandton, with meetings across Johannesburg and very little time to spare. The missing tooth had been gone for years, so the brief was simple: replace it with something that looked right in photographs, felt secure when chewing, and would not need constant attention once completed.
Because the gap was in a visible part of the smile, the result had to match the neighbouring teeth in shape and colour. The client also wanted a fixed solution rather than a removable appliance. He was traveling often between Sandton, Bryanston and Rosebank, so the schedule had to fit around work and traffic, with as few return visits as possible.
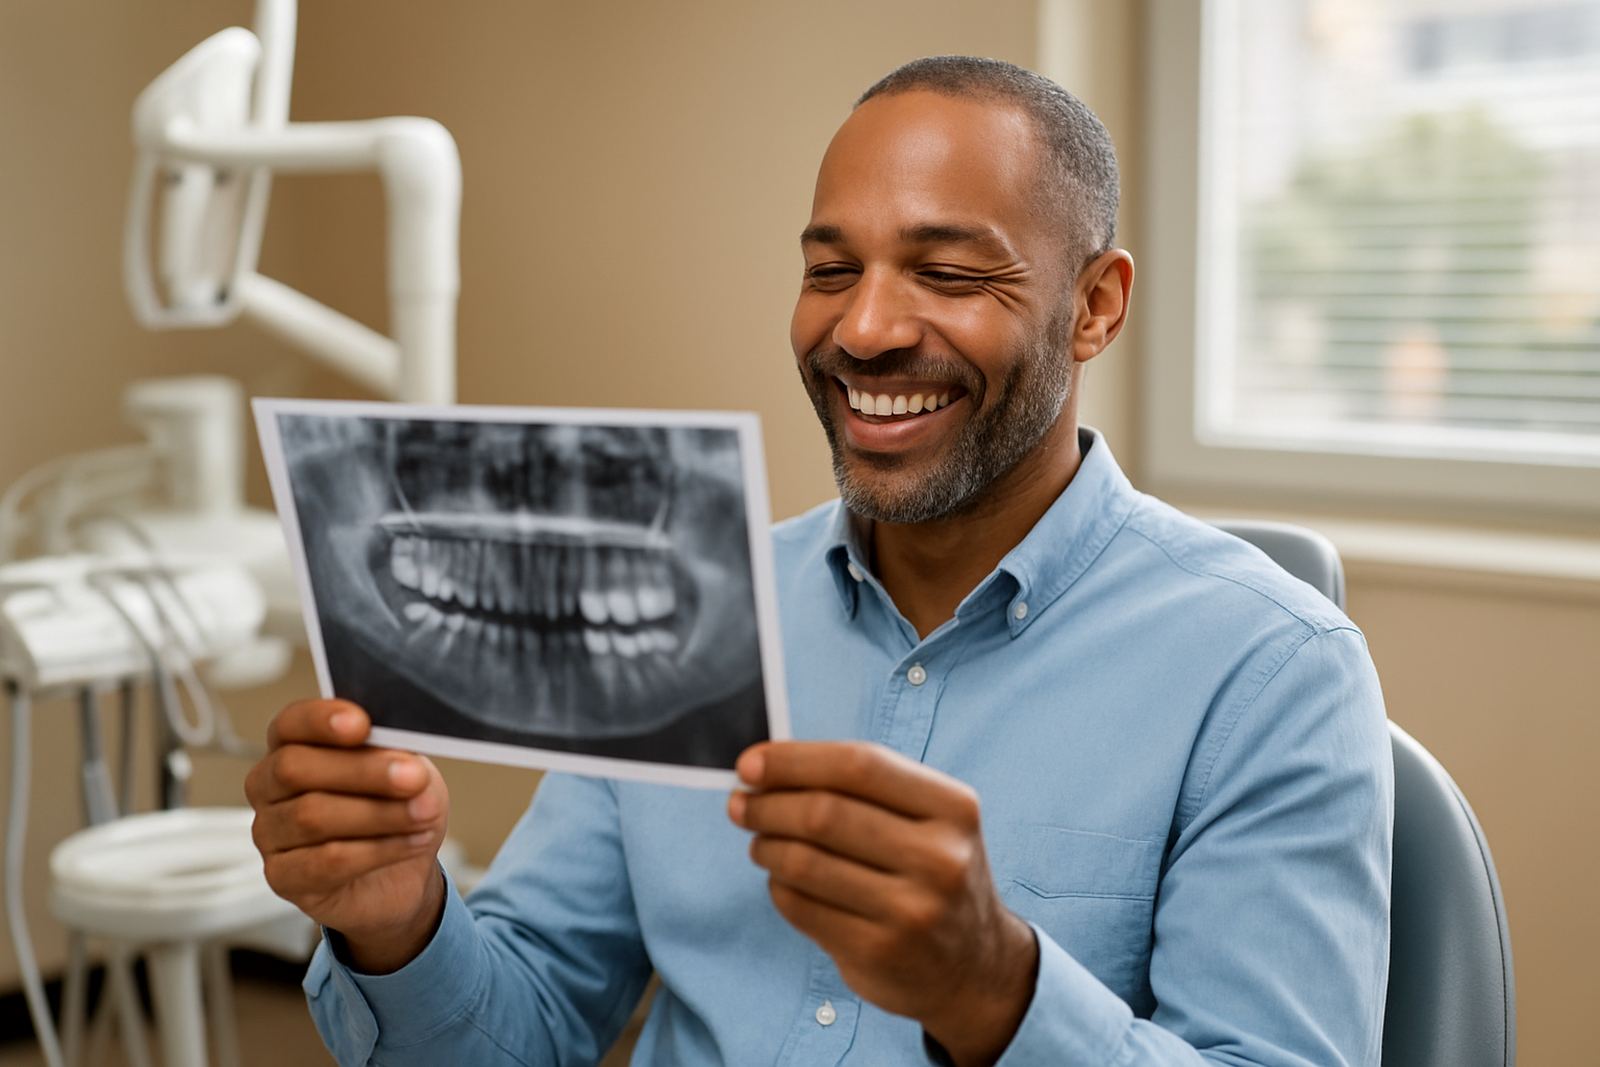
We started with a full new patient assessment, gum review, and digital imaging to confirm bone support and check the bite. The site had healed for a long time, which meant we needed careful planning for implant size, angle and final crown space. There was enough bone volume for a straightforward single-unit case, but the soft tissue and spacing still had to be measured properly.
- Client type: entrepreneur, Kramerville, Sandton
- Need: single tooth replacement in a visible smile zone
- Primary goal: stable function with a natural finish
- Constraint: limited appointment time due to work travel
Why The Old Space Needed Careful Planning
A long-missing tooth can let the surrounding teeth shift and the opposing tooth over-erupt slightly, which changes how the bite closes. In this case the neighbouring teeth had stayed fairly stable, but the gum contour had narrowed and there was a small amount of space loss. That meant we had to plan the final crown profile carefully so the restoration would sit naturally and not look bulky.
We also considered maintenance, because any implant in a business executive’s mouth has to be easy to keep clean. South African working days are long, and when someone is moving between offices, cars and late meetings, they need a solution that can be looked after with ordinary brushing and flossing, not special gadgets every week. The plan needed to work in real life, not only in a photo.
There was no need for full arch treatment or additional tooth movement, but we did assess whether minor orthodontic correction would have improved the space. In this case the gap was suitable for direct implant planning, which saved time and kept the process simpler for the patient. The final design still had to respect the bite and leave enough room for hygiene access around the implant crown.
- Assessment included gum health, bite analysis and digital imaging
- Planning focused on crown shape, bite contact and cleanability
- No orthodontic correction was required before placement
- The case was suitable for a single implant rather than a bridge
What We Supplied And How The Case Was Managed
We supplied the full implant workflow from planning through to aftercare follow-up. Dr Pieter van der Merwe handled the implant planning and placement, while Dr Ayesha Khan reviewed the visible tooth form and shade for a natural finish. Thabo Nkosi coordinated the imaging records and measurements, and Lerato Moloi managed booking flow so the visits stayed efficient.
The treatment began with a surgical planning appointment. We recorded the site dimensions, reviewed the available bone, and confirmed the position for the implant fixture. Under local anaesthetic, the implant was placed into the healed site with attention to depth and angulation. The patient was given straightforward post-op instructions for the first few days, including cold compress use, soft foods and careful cleaning around the area.
After the healing period, we returned to the site for impression taking and crown planning. The final crown was designed to match the neighbouring tooth in size and shade, with a subtle contour so it would blend in during speech and smiling. The fit had to be precise because a slightly open contact or overcontoured crown can trap food and cause irritation. We checked the bite in more than one position, because small differences matter once the patient starts chewing normally again.
- Single implant fixture placed in a healed site
- Local anaesthetic used for comfort during placement
- Final crown matched to adjacent tooth colour and shape
- Follow-up included bite checks and hygiene guidance
Timeline From First Visit To Final Crown
The full case ran over about 14 weeks from consult to final crown delivery. The first week was assessment and planning. Placement happened soon after, once the records were complete and the site was confirmed as suitable. The healing phase took several weeks, and we monitored the area before moving to the final restorative stage.
That timing worked well for a working client, because it allowed us to space visits around office commitments in Sandton and nearby suburbs. We avoided unnecessary appointments, and the patient could return to normal routines quickly after the surgery. The key was not rushing the healing, since good bone integration is what gives a single implant long term steadiness.
The final crown appointment was kept concise. We checked the shade in natural light, confirmed the bite contacts, and reviewed cleaning around the implant before handing over the completed work. The patient left with a fixed tooth that felt much closer to his own teeth than the old gap had ever done. It also meant he could smile for client meetings without thinking about the missing space every time.
- Week 1: consult, imaging and treatment plan
- Week 2: implant placement
- Weeks 3 to 10: healing and review
- Weeks 11 to 14: crown fabrication, fit and final checks
The Result In Daily Life
The result was a stable, natural-looking single tooth replacement that restored function in a way the client could trust. He could bite comfortably again on that side, and the restoration sat well in the smile without drawing attention to itself. For a person who spends a lot of time in meetings and on the move, that sort of everyday reliability matters more than anything fancy.
The surrounding tissue settled in neatly, and the cleaned-up bite made the area easier to maintain. Because the crown was shaped to allow brushing and flossing access, the patient did not have to change his whole routine. He just needed to be consistent with normal oral hygiene and the scheduled reviews. That kept the treatment practical, which is what we aim for.
From a visual point of view, the tooth line looked more complete again and the dark gap was gone. From a functional point of view, the implant behaved like a fixed tooth rather than a loose substitute. The client was pleased that the restoration felt secure during speaking and eating, which had been the main concern from the start.
What We Would Repeat For A Similar Case
If we were doing a similar case again for a Kramerville or Sandton patient, we would keep the same sequence: clear imaging first, simple treatment steps, and a crown designed for both appearance and easy cleaning. That approach works well for professionals who need dependable dentistry without a long disruption to work life.
The success of this case came from preparation. A single implant sounds straightforward, but the details are what make it last. We would again check the bite carefully, plan the emergence profile to suit the gum line, and make sure the patient had clear aftercare instructions before leaving the chair. The result is better when the planning is disciplined from the start.
For patients coming from Sandton, Bryanston, Rivonia, Morningside, Fourways or Rosebank, the same practical process applies. Once the records are correct and the healing is respected, a single implant can restore daily function with very little fuss. That is the kind of outcome we like to deliver, because it holds up in ordinary life and not just on the day of treatment.
- Keep the plan simple and measured
- Match the crown to the bite, not only the shade
- Give clear home-care instructions from day one
- Allow enough healing time for stable integration
Key facts
| Client area | Kramerville, Sandton |
|---|---|
| Treatment | Single dental implant with final crown |
| Case duration | About 14 weeks |
| Primary clinician | Dr Pieter van der Merwe |
| Support team | Dr Ayesha Khan, Thabo Nkosi, Lerato Moloi |
| Outcome | Stable, natural-looking function restored |