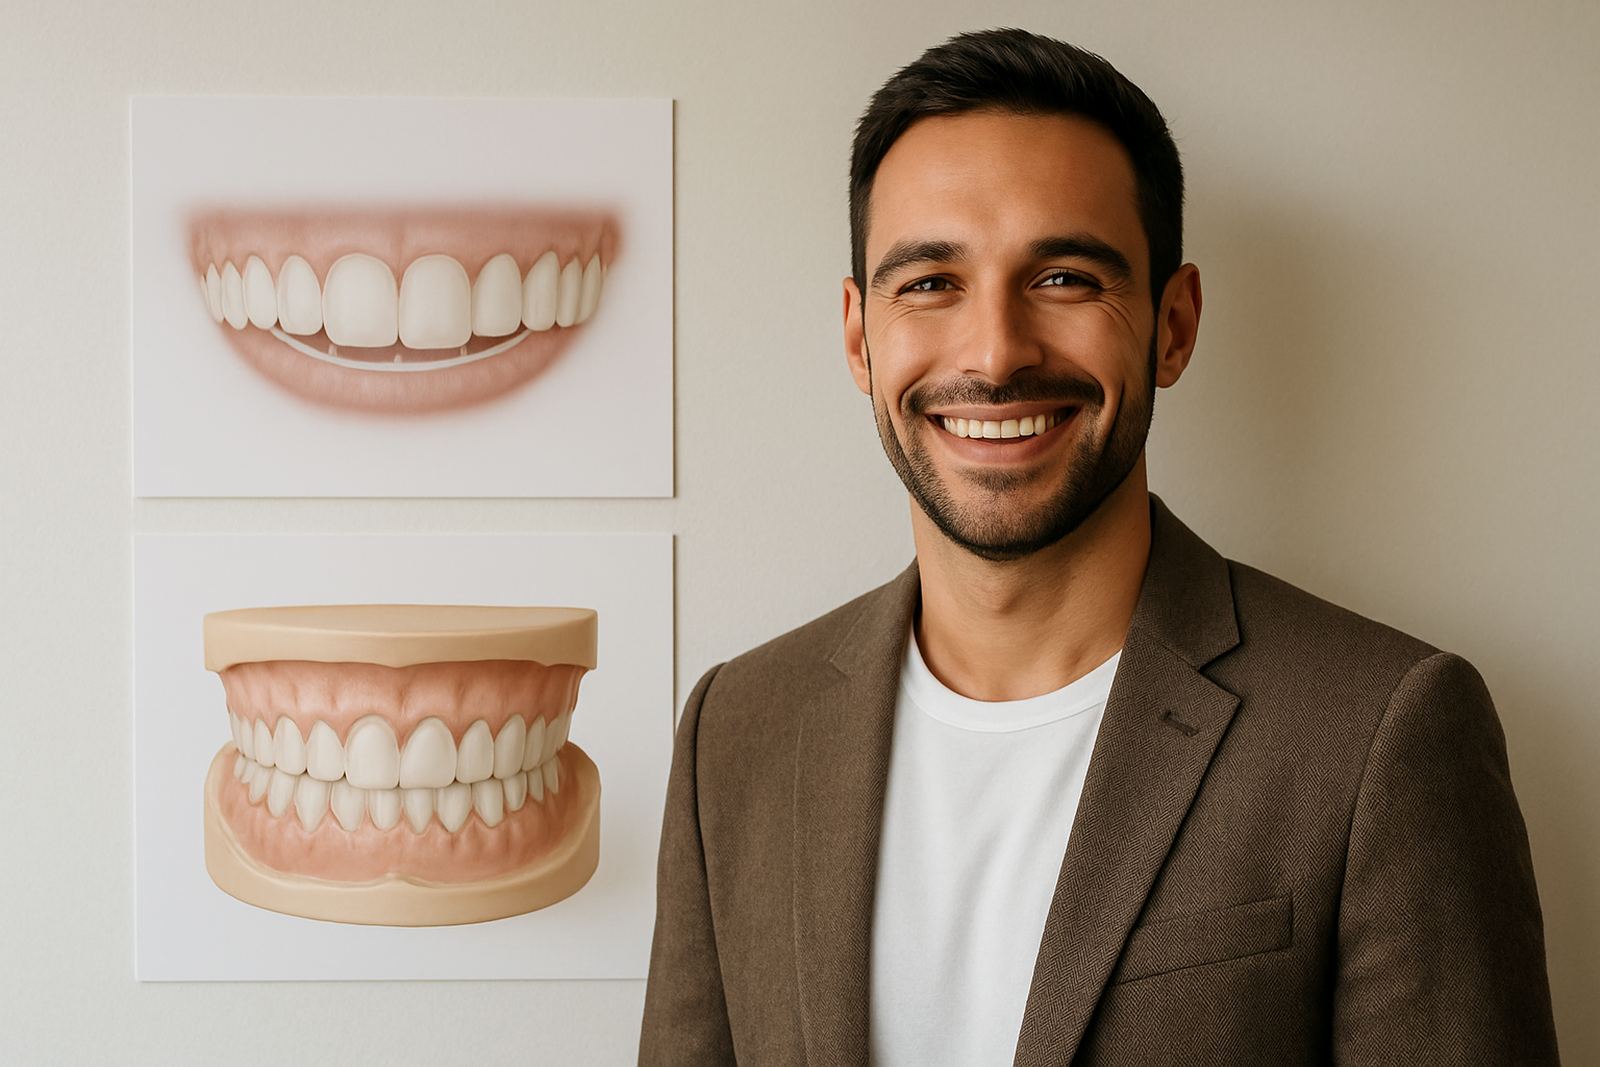

The Brief From A Busy Sandton Teacher
The client was a primary school teacher based in Sandton, travelling in from the broader Johannesburg north area between school duties and family time. The brief was simple to say but careful to deliver: brighten the front teeth, even out small chips and edge wear, and keep the smile natural enough for daily teaching, staff photos and parent meetings.
There was no request for a full mouth change. The aim was to freshen the front teeth only, with enough improvement to boost confidence but not so much that colleagues would notice anything artificial. The patient wanted something that looked like healthy teeth, just better cared for.
- Client type: school teacher
- Town: Sandton, Johannesburg
- Smile goal: brighter front teeth with a natural finish
- Main concern: small chips, mild staining and uneven incisal edges
What Needed To Be Considered Before Treatment
Because the patient works in a classroom, timing mattered. Sessions had to fit around term dates, marking and after-school duties. We also had to account for speaking all day, so any bite changes or added material on the front teeth needed to be neat and comfortable from the first week.
We checked gum health, existing fillings and the shade of the surrounding teeth before starting. The front teeth had light staining and a few worn edges, but the underlying tooth structure was sound. That meant whitening could do the heavy lifting on colour, while bonding could refine shape and close the small imperfections.
- Scheduling around school hours and term pressure
- Keeping the final shade believable next to the side teeth
- Protecting enamel by limiting the amount of bonding needed
- Making sure speech stayed clear for teaching
The Treatment Plan We Used
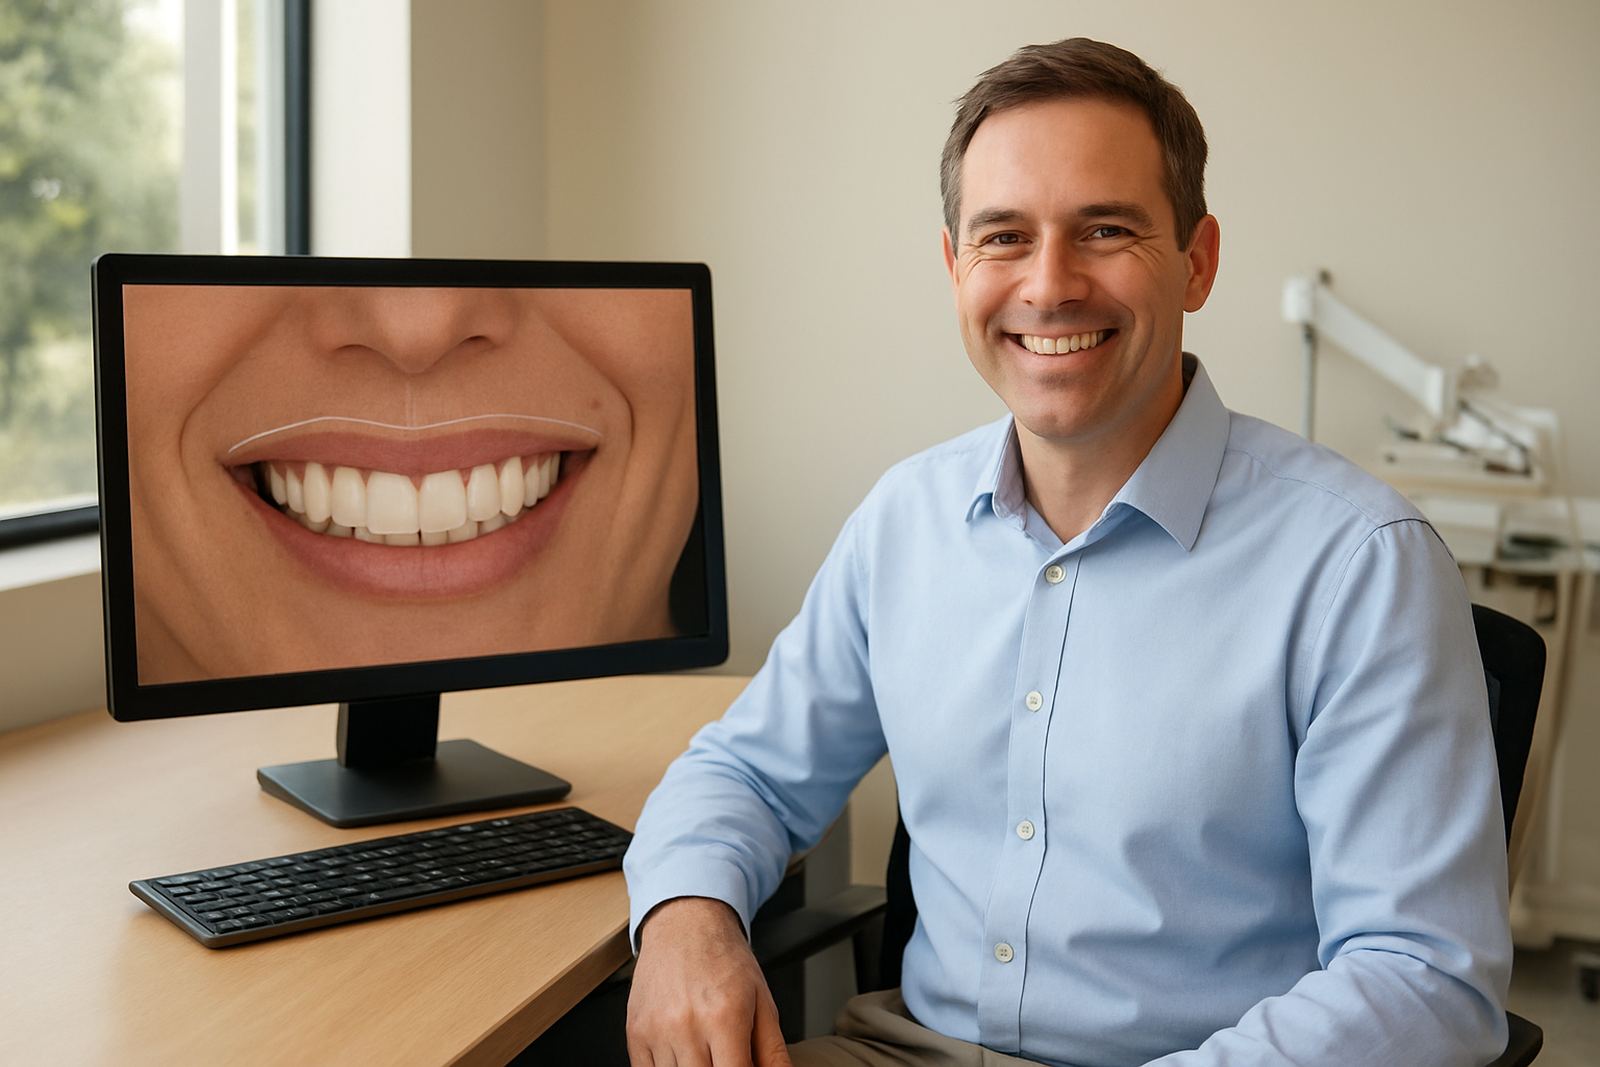
We started with digital smile planning so the patient could see the likely direction before any work began. From there, the sequence was whitening first, then conservative bonding on the upper front teeth where the chips and wear were most visible. That order matters because it helps us match the bonding shade to the newly brightened teeth.
The whitening phase was done first to lift overall colour. After that, we shaped and placed composite bonding on selected edges and surfaces to even out the front smile line. The final polish was important because classroom lighting can show rough finishing quickly, and the patient wanted a clean but low-fuss result.
- Digital smile planning before treatment
- Professional whitening first, then bonding
- Composite used for edge repair and shape correction
- Final polish and bite check for daily comfort
Timeline, Visits And Key Specs
The full plan ran over three weeks. The first visit covered assessment, photographs, shade recording and planning. Whitening was started next, then the bonding appointment was booked once the shade had settled. A follow-up visit was used to check comfort, bite points and stain resistance habits such as tea, coffee and timing of brushing.
There was enough time between steps to avoid rushing the shade choice. For teachers and other public-facing professionals, that gap makes a difference because the teeth need to settle before the final bonding colour is selected. We also gave clear aftercare notes so the patient could manage the result without adding extra stress to a full work week.
- Total timeline: 3 weeks
- Visits: 3 main appointments plus follow-up
- Primary treatments: whitening and composite bonding
- Front teeth focus: upper incisors and visible edges
- Aftercare: stain control, soft brushing and review of bite comfort
The Result In Class And Outside School
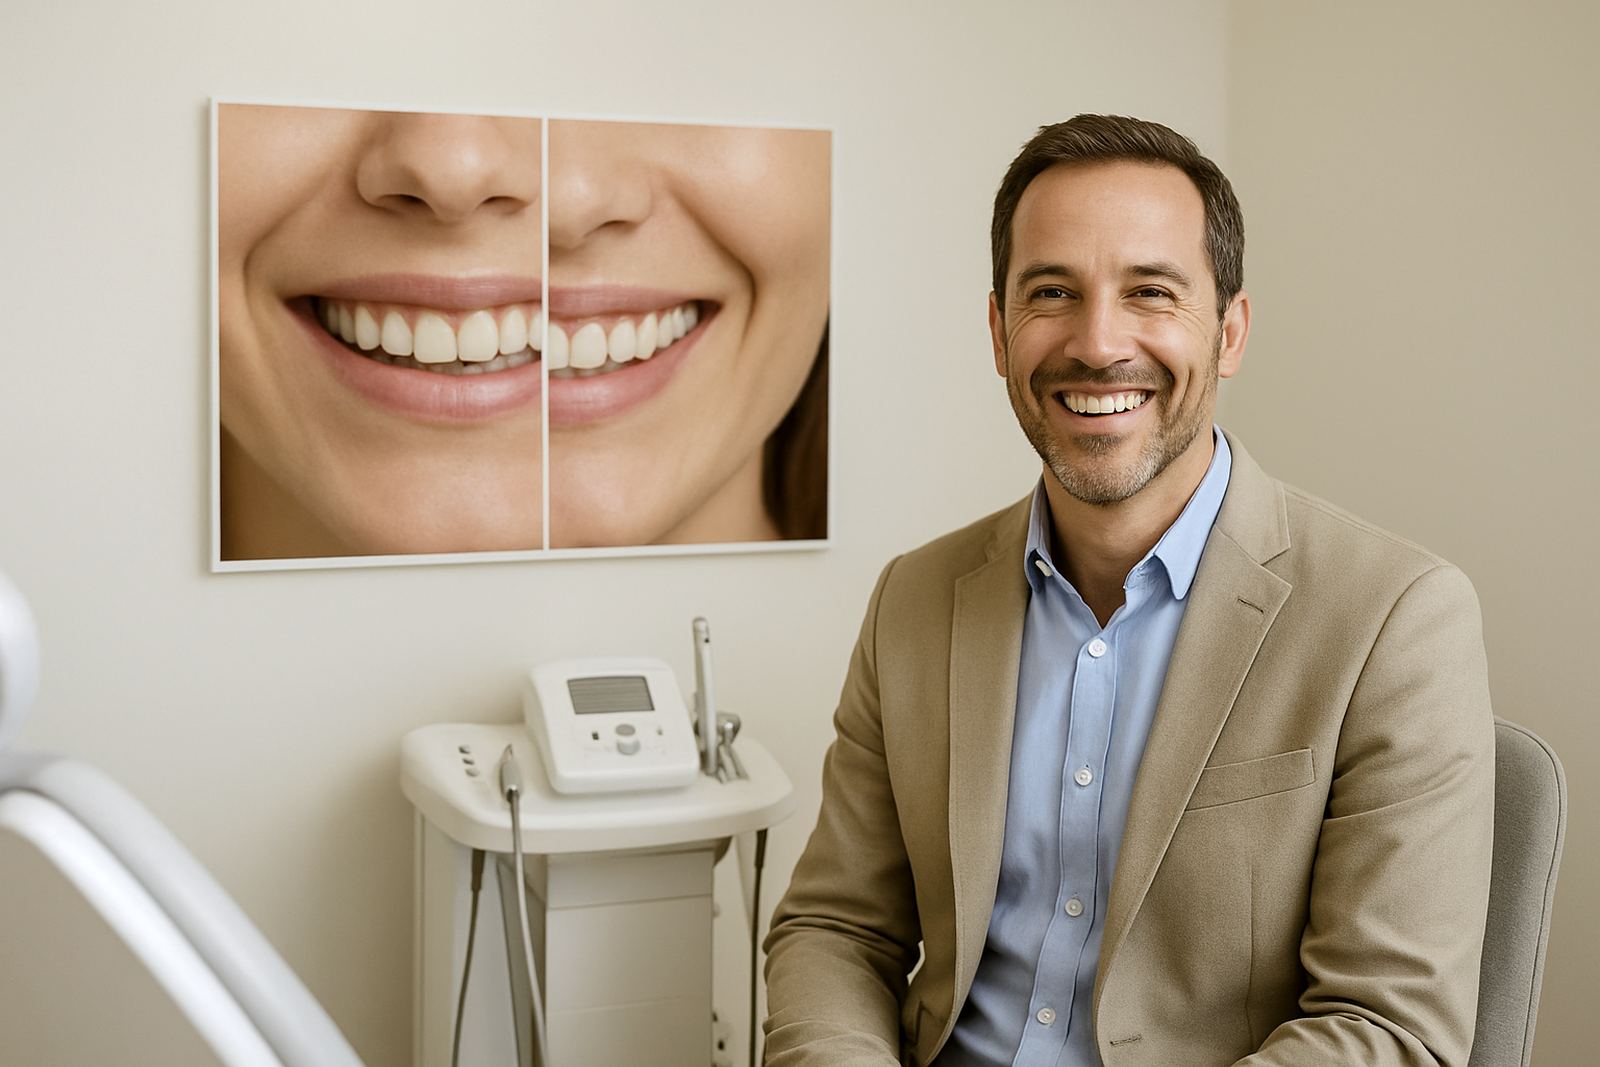
The end result was a brighter, more even front smile that still looked like the patient. The whitening lifted the overall colour nicely and the bonding smoothed out the chips that had been bothering them in photos and when speaking face to face. The smile looked fresh, not overdone, which was exactly the target.
For the patient, the biggest change was confidence. They could stand in front of a class and speak without thinking about the front teeth, and that matters more than people realise. The result also held its shape well under everyday use because we kept the changes conservative and focused on the teeth that needed attention most.
- Brighter front shade without a flat, artificial look
- Less visible chipping on the front teeth
- Improved symmetry across the smile line
- Better confidence in photos and face to face conversations
What We Would Repeat For The Next Similar Case
For another teacher or office-based patient with the same brief, we would follow the same order: assess, whiten, then bond only where needed. That keeps the treatment efficient and protects the natural tooth as much as possible. It also gives a cleaner result because the final shaping is done after the colour has settled.
We would also keep the follow-up appointment in place. Small adjustments after a week can make a big difference, especially when someone is speaking a lot and noticing the front teeth in mirrors, windows and phone cameras. A careful review helps the patient leave with a smile that fits day-to-day life, not just the chair.
- Repeat the whitening first approach
- Use bonding only on worn or chipped edges
- Keep the shade natural next to adjacent teeth
- Book a short follow-up to check comfort and polish
Key facts
| Project type | Front-teeth makeover |
|---|---|
| Client location | Sandton, Johannesburg |
| Treatment focus | Whitening and composite bonding |
| Timeline | 3 weeks |
| Key outcome | Brighter, more even smile for teaching |
| Follow-up | Comfort check, bite review and aftercare guidance |