
Start With the Right Fit on Night One
Your custom night guard should feel snug, not painful. A well made guard sits over the teeth with even contact and should stay in place without you having to bite hard to keep it there. If it feels very tight on the first night, rinse it in cool water and try it again after a few minutes. Never force it into position.
For most people, the first few nights take some getting used to. You may notice extra saliva, a stronger awareness of the guard, or a slightly different bite on waking. That usually settles as your mouth adapts. If the guard causes sore spots, rubbing or a headache that lasts into the day, book a review rather than trying to file or trim it yourself.
- Check that the guard covers the correct teeth fully
- Make sure you can close your lips comfortably
- Confirm there are no sharp edges or cracks
- If it clicks or shifts a lot, have it adjusted
How to Wear It Through the Night
Put the guard in just before sleep after brushing and flossing. Clean teeth keep plaque from being trapped under the appliance, which matters if you are wearing it for 6 to 8 hours a night. If you grind more during stressful periods or after late coffee, the guard may feel more noticeable. That is normal, but it should still remain secure.
Try to handle it with clean hands and avoid chewing on it while awake. A night guard is not for biting down on while reading or watching TV. Excess pressure can deform the material, especially if you have an acrylic or dual layer guard. If you wake during the night and remove it, place it back in with gentle finger pressure only.
- Brush and floss before every use
- Insert the guard with clean, dry hands
- Do not bend or bite it into place
- Remove it carefully using both hands if needed
Daily Cleaning That Keeps Odour and Build-Up Away
Clean your night guard every morning. Rinse it under lukewarm water, then use a soft toothbrush with a small amount of mild, non abrasive soap. Toothpaste is often too harsh and can scratch the surface, which gives bacteria more places to cling to. A scratched guard can also look cloudy sooner.
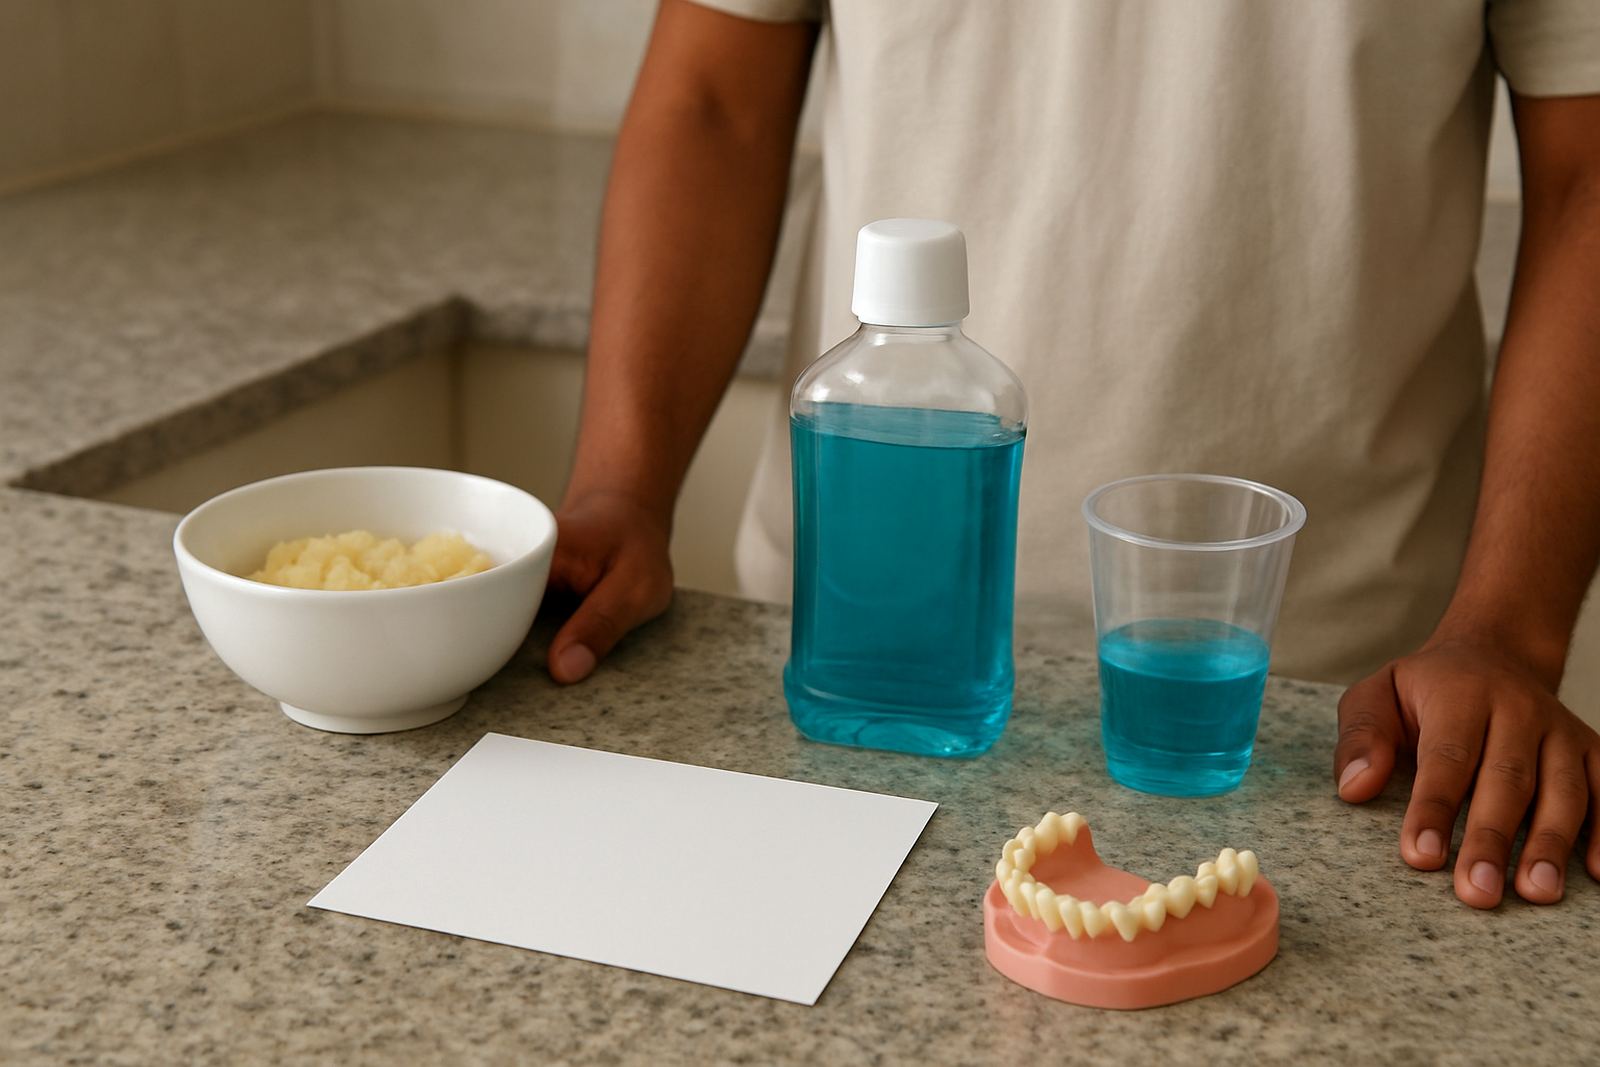
Once or twice a week, soak it in a cleaning solution recommended by your dentist. Avoid hot water, boiling water, bleach and harsh mouthwash, because these can warp the material or weaken it over time. In Johannesburg, where water can sometimes feel hard and leave scale, a thorough rinse is important so residue does not build up on the guard. Let it air dry fully before storing it.
- Use cool or lukewarm water only
- Choose a soft brush, not a hard one
- Avoid coloured cleaners that may stain clear guards
- Replace the guard if it develops a persistent smell after cleaning
Storage Rules for Home, Office and Travel
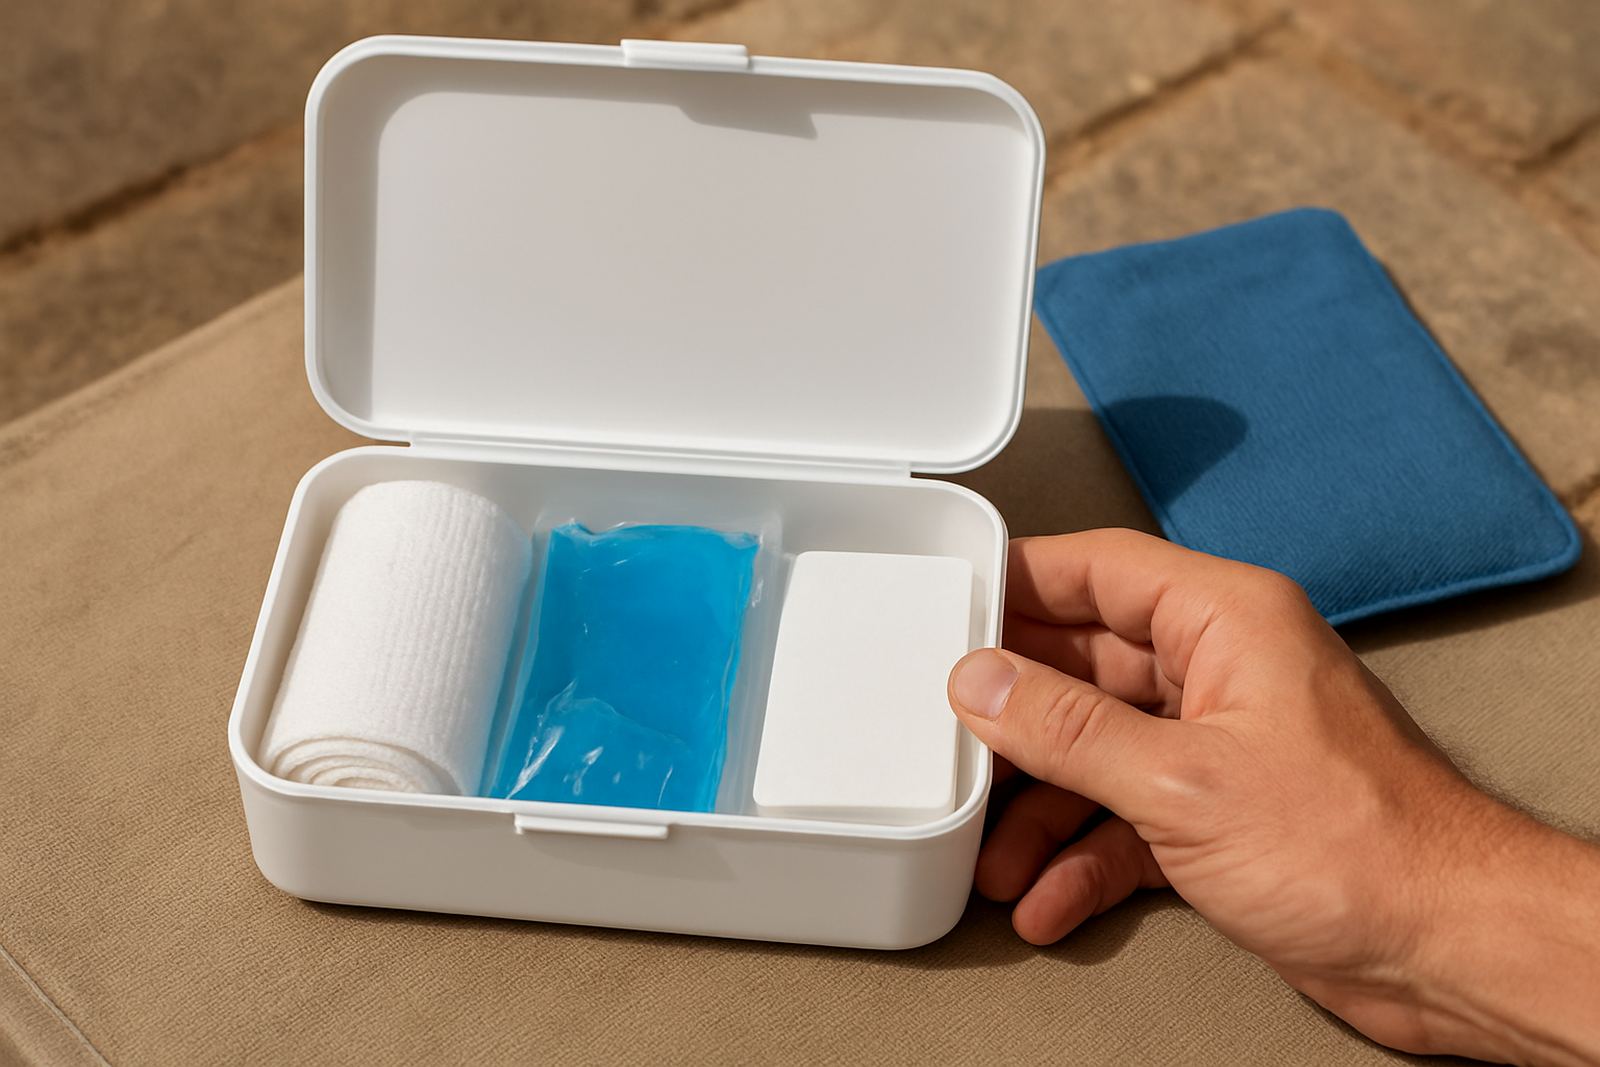
Store the guard in a ventilated case once it is dry. A sealed wet container encourages odour and bacteria, especially in warm weather. Keep the case out of direct sunlight and away from the bathroom basin where it can be knocked into water. If you travel between Sandton, Bryanston, Rivonia or Fourways, a sturdy case in your handbag, laptop bag or overnight kit helps prevent loss and damage.
If load-shedding interrupts your normal routine, keep a small cleaning kit ready with a soft brush, mild soap and a spare case. Never wrap the guard in tissue or leave it on the bedside table where pets or children can reach it. A dropped guard can crack even if it still looks intact. Once cracked, it may no longer fit properly and could irritate the gums.
- Use a hard case with air holes
- Keep the case dry and labelled with your name
- Do not store it next to heat sources
- Carry a backup case when travelling
When to Book a Review or Replacement
A night guard is not a fit and forget item. Teeth can shift slightly over time, fillings can change shape and grinding patterns can increase during stress. If you notice the guard is tighter than before, is leaving marks on the cheeks, or your bite feels different when you wake, have it checked. These signs often mean it needs adjustment.
Replace the guard if it develops cracks, deep wear grooves or if it no longer holds in place. Some guards last longer than others depending on material, grinding force and cleaning habits. A guard used every night may wear faster than one used a few times a week. Keep an eye on the edges too, because rough spots can make the tongue or gums sore. If in doubt, bring it in for a review rather than waiting until it breaks.
Simple Night-Time Checklist Before Bed
A short routine makes the guard easier to use and helps protect your teeth properly. This is useful for busy families, shift workers and anyone dealing with stress related clenching. Follow the same order each night so nothing gets missed.
- Brush teeth for two minutes
- Floss or use interdental cleaning where needed
- Rinse the guard and inspect it
- Place it gently over the teeth
- Store it in its case in the morning after cleaning
If you also wear braces, aligners or have recent dental work, ask for specific instructions before using a night guard. The same is true if you have jaw pain, snoring concerns or sensitivity around implants. A custom plan matters because every mouth is different and a one size approach can cause trouble.